What I'd Buy Again If I Were Starting Seeds From Scratch
Every year, I start at least 1,000 seedlings here at Hilltop. With as much garden as I have to fill, it's truly the only way I can afford to garden.
Those trays eventually become vegetables, herbs, cut flowers, and everything from dust-like foxglove seeds to tomatoes and dahlias.
If there's one thing I've learned over the years, it's this: you don't need a complicated setup. You need a dependable one.
I've killed more seedlings than I can count. I've overwatered, underwatered, forgotten to label trays, forgotten to water altogether, sown seeds far too early and far too late, and learned—sometimes the hard way—which plants are easy and which demand a little more patience.
None of that happened because I read the perfect book. It happened because I started.
This isn't every seed-starting gadget I've ever owned. It's simply the setup I've returned to after years of growing more than 1,000 seedlings each season. If I had to start over tomorrow, this is exactly what I'd buy again.
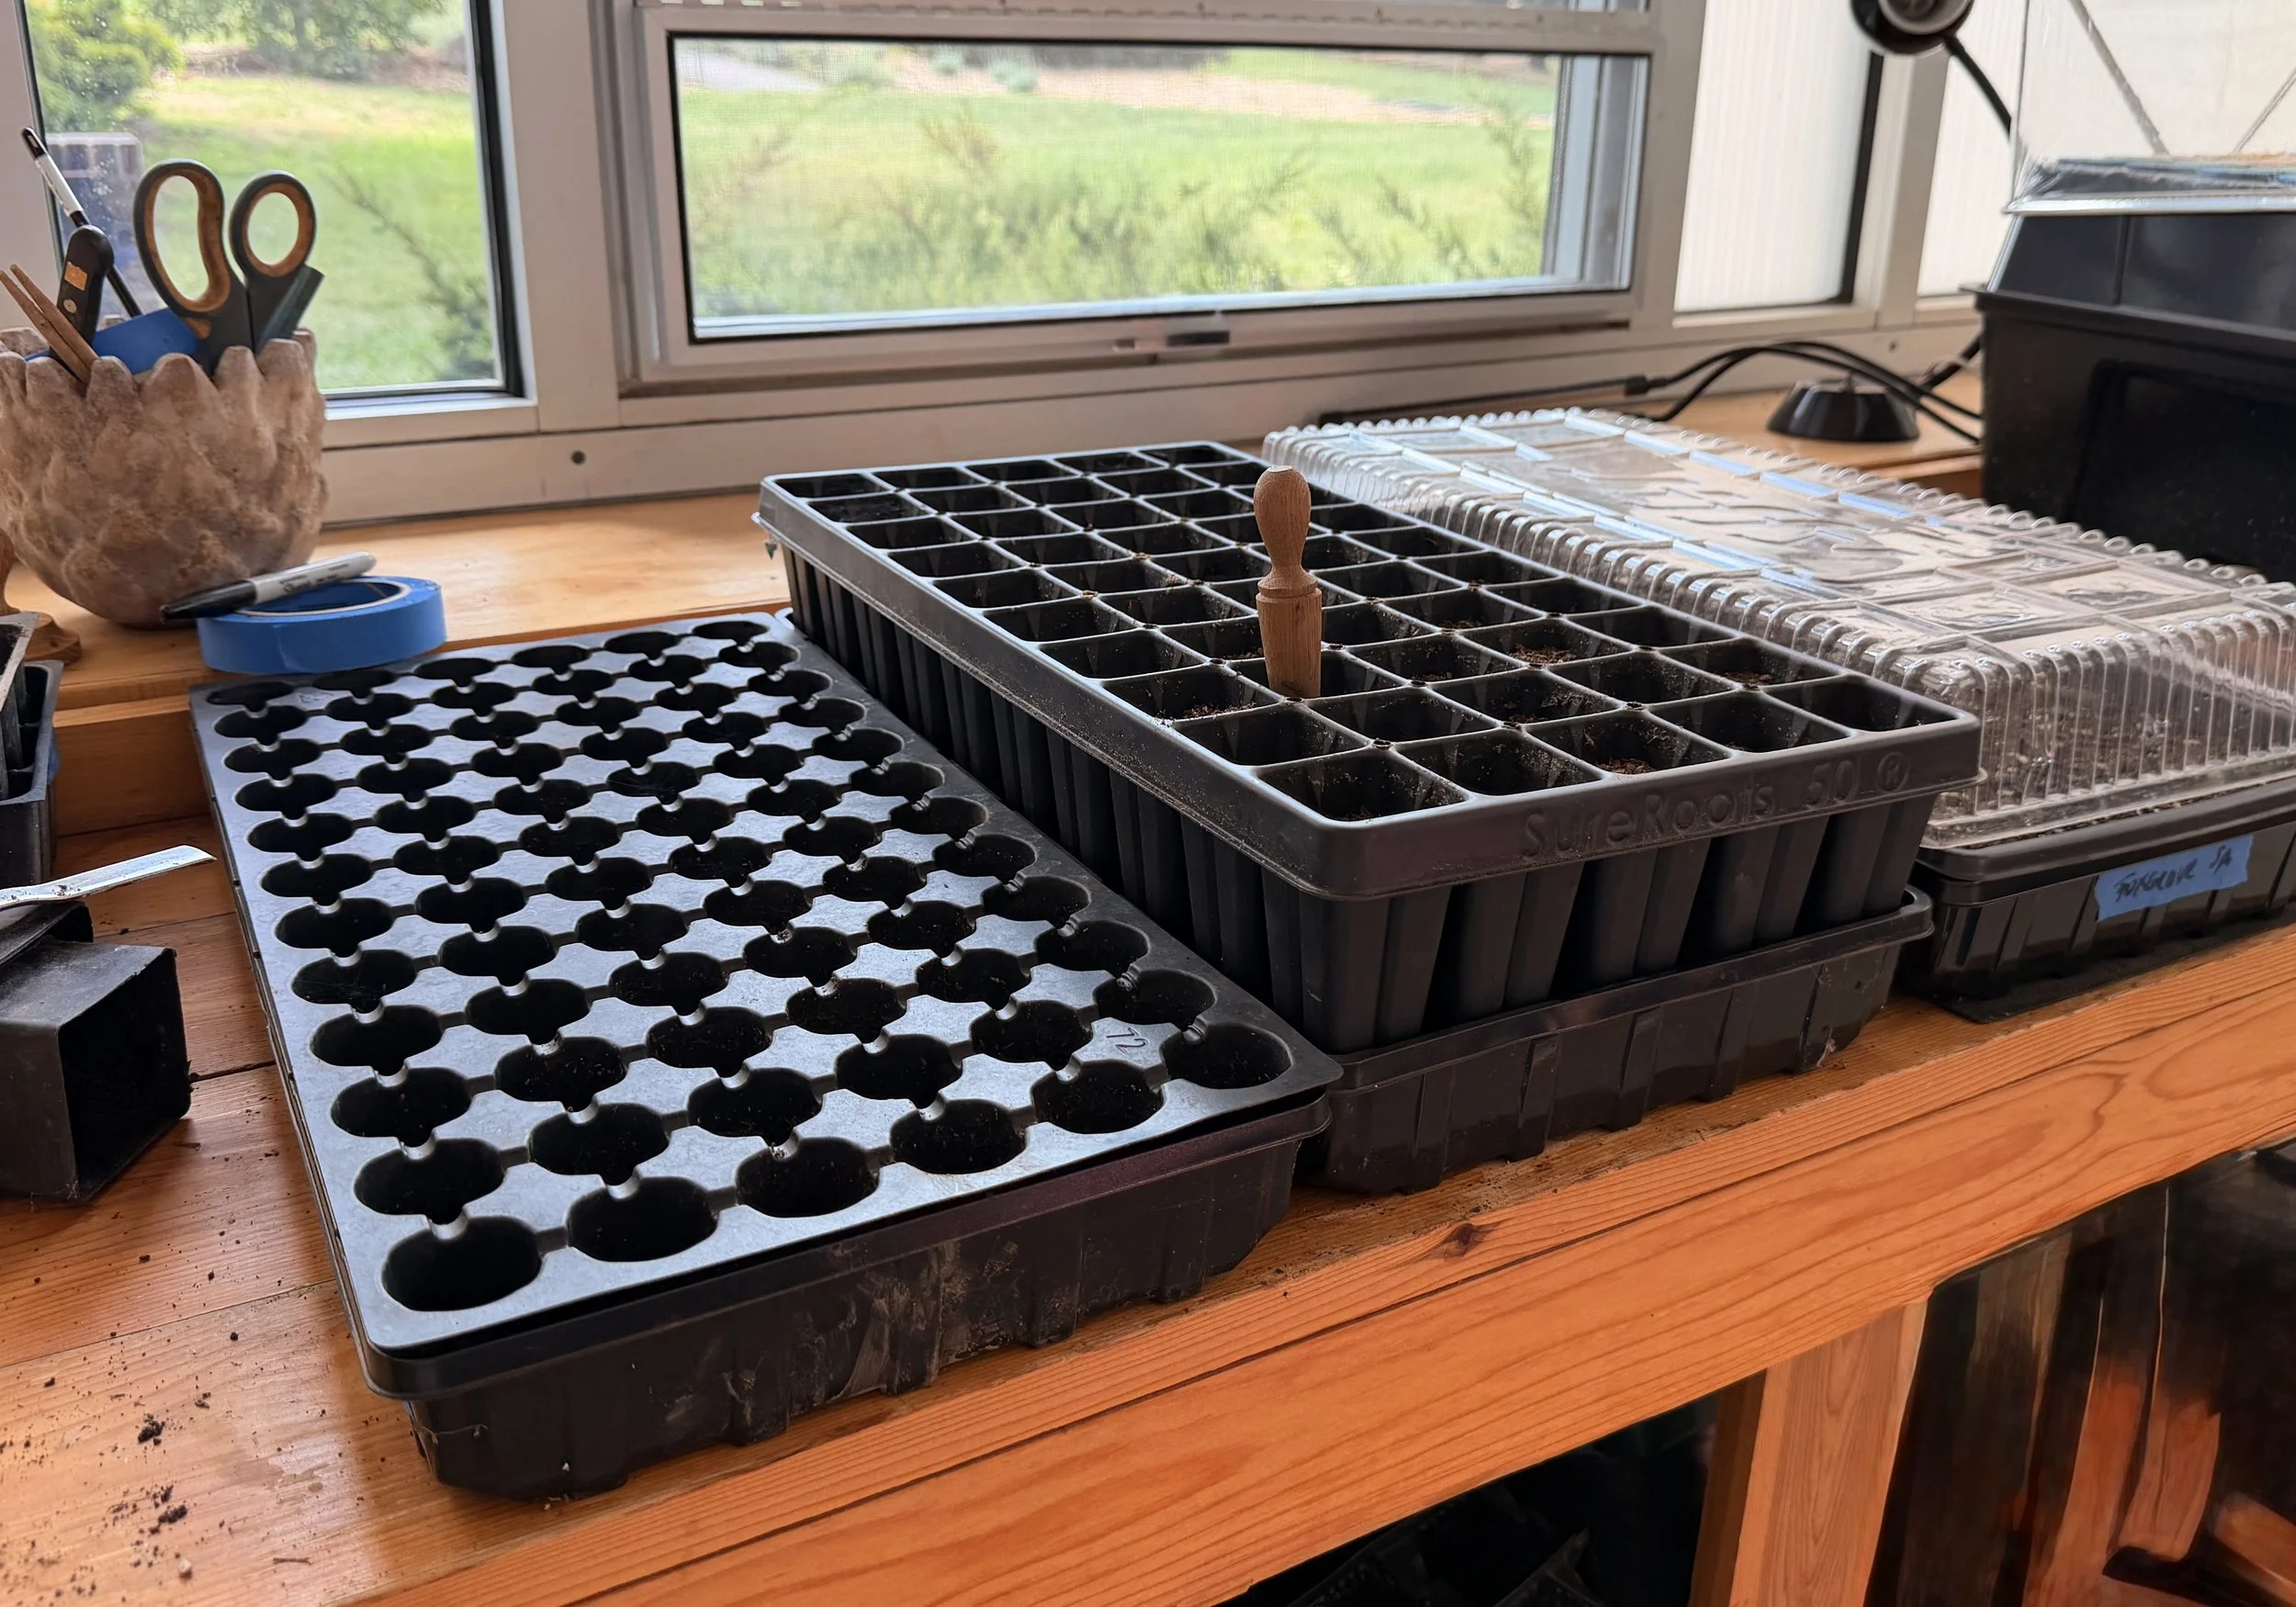
A selection of seed trays, solid bottom trays, and humidity domes ready for sowing.
The Essentials
These are the items I wouldn't start seeds without.
Seed Starting Mix
Use a mix designed specifically for starting seeds.
Seed-starting mixes are lighter than potting soil, drain better, and make it much easier for tiny roots to develop.
I've had excellent success with DirtCraft Organics' Levitation Seedling Mix, but any high-quality seed-starting mix is far better than using garden soil or regular potting soil.
If seed-starting mix isn't available, the only potting mix I'd personally consider using is FoxFarm's Coco Loco. I'm also trying to reduce my use of peat-containing products whenever possible, so that's become an important consideration when choosing soils.
Seed Trays, Bottom Trays & Humidity Domes
A good tray system is the foundation of everything.
I prefer sturdy, reusable trays with separate solid bottom trays, cell trays, and clear humidity domes. They're durable, easy to sanitize, and last for years.
Cheap trays usually end up being replaced because I break them...and then try to tape them back together. Believe me—not worth it. Good trays are a non-negotiable.
What sizes should you buy?
If you're just getting started, here's exactly what I'd order:
10 standard 72-cell trays (with drainage holes)
10 matching deep solid bottom trays (also known as a 1020 greenhouse flat)
10 humidity domes
5 deep-cell trays (around 50 cells) for crops that appreciate a longer root run
5 deep flat trays with drainage holes for sowing very fine seed (also known as a1020 greenhouse flat)
I know ten trays sounds like a lot, but because they're awkward to ship, the shipping cost is often nearly the same whether you order five or ten. Since they'll last for years, I'd rather buy them once and be done.
72-cell trays
These are my workhorses.
Most vegetables and flowers begin life here, and many of them will go straight from a 72-cell tray into the garden without ever needing a larger pot.
This includes plants like:
Zinnias
Lettuce
Brassicas
Tomatos/peppers/eggplant
Lots of annual flowers
If you're only buying one tray style, this is the one. They will fit inside the 1020 deep solid-bottom greenhouse flat.
Deep-cell trays
I reserve deep-cell trays for plants that naturally produce longer root systems or simply appreciate a little more room. They usually have 50 cells in which to plant seeds.
Some of my favorites include:
Sweet peas
Cucumbers
Squash
Pumpkins
Echinacea
Other vigorous seedlings that benefit from extra root space
They will fit inside the 1020 deep solid-bottom greenhouse flat.
Open flats with drainage holes
This is probably the tray I get asked about the most.
I use open flats with drainage holes for broadcast sowing very tiny seeds that are difficult to space individually.
Instead of trying to drop one microscopic seed into each cell, I sow them across the surface of the flat. Once the seedlings have developed enough to handle, I carefully prick them out and transplant them into larger cells or pots.
This is how I start many tiny-seeded flowers, including:
Snapdragons
Delphiniums
Larkspur
Monarda
Trying to sow those seeds one at a time into a 72-cell tray is possible—but it's far more tedious than it needs to be. They will fit inside the 1020 deep solid-bottom greenhouse flat.
Save your nursery packs
One thing I never buy is six-pack nursery cells.
Instead, I save every healthy six-pack that comes home from the nursery when I buy pansies or any other annuals.
They're perfect for potting up seedlings that need a little more time before heading into the garden.
Foxgloves, snapdragons, and tomatoes are some of the plants I regularly move into larger containers after they've been pricked out or have outgrown their original tray.
It's free, it keeps plastic out of the landfill a little longer, and those six-packs work beautifully for sizing up seedlings.
Start with a simple system that you can repeat year after year. A dependable setup beats a perfect one every time.
Vermiculite
This is one item many beginners overlook.
I use a light layer of vermiculite over very small seeds or seeds that only need a light covering. It helps retain surface moisture while still allowing excellent air exchange during germination.
One bag lasts a surprisingly long time.
A Rubber Mixing Tub
This might be the least glamorous item on the list, but it's one of the most useful. I dump my dry seed-starting mix into a large rubber tub, slowly add water, and mix everything together with my hands or a hand trowel until the soil feels like a damp sponge.
Pre-moistened soil fills trays more evenly, reduces dust, and makes sowing much easier. You can find these on Amazon, at farm supply stores, or sometimes even at Target.
Spray Bottles
I keep at least two spray bottles nearby. They're perfect for gently misting newly sown trays without washing tiny seeds away. I usually just grab mine from Home Depot or whatever home improvement store I'm already visiting.
A Watering Can
You'll want a smaller watering can for filling the solid bottom trays with water.
After you've sown your seeds, I recommend watering primarily from the bottom. Simply add water to the solid tray underneath and let the seed tray absorb what it needs. This keeps the seeds from washing out of place and encourages stronger root growth.
The only time I water from above during those early weeks is with a spray bottle to keep the surface evenly moist while the seeds are germinating. Once the seedlings begin to establish, I continue to water from the bottom almost exclusively. Even later, a watering can gives you much better control than a hose.
I'm a huge fan of Haws watering cans (I know—they're an investment), but one I feel is absolutely worth it. If you don't want to spend quite that much, choose a watering can that comes with a rose so you have the option of gently watering from above when needed.
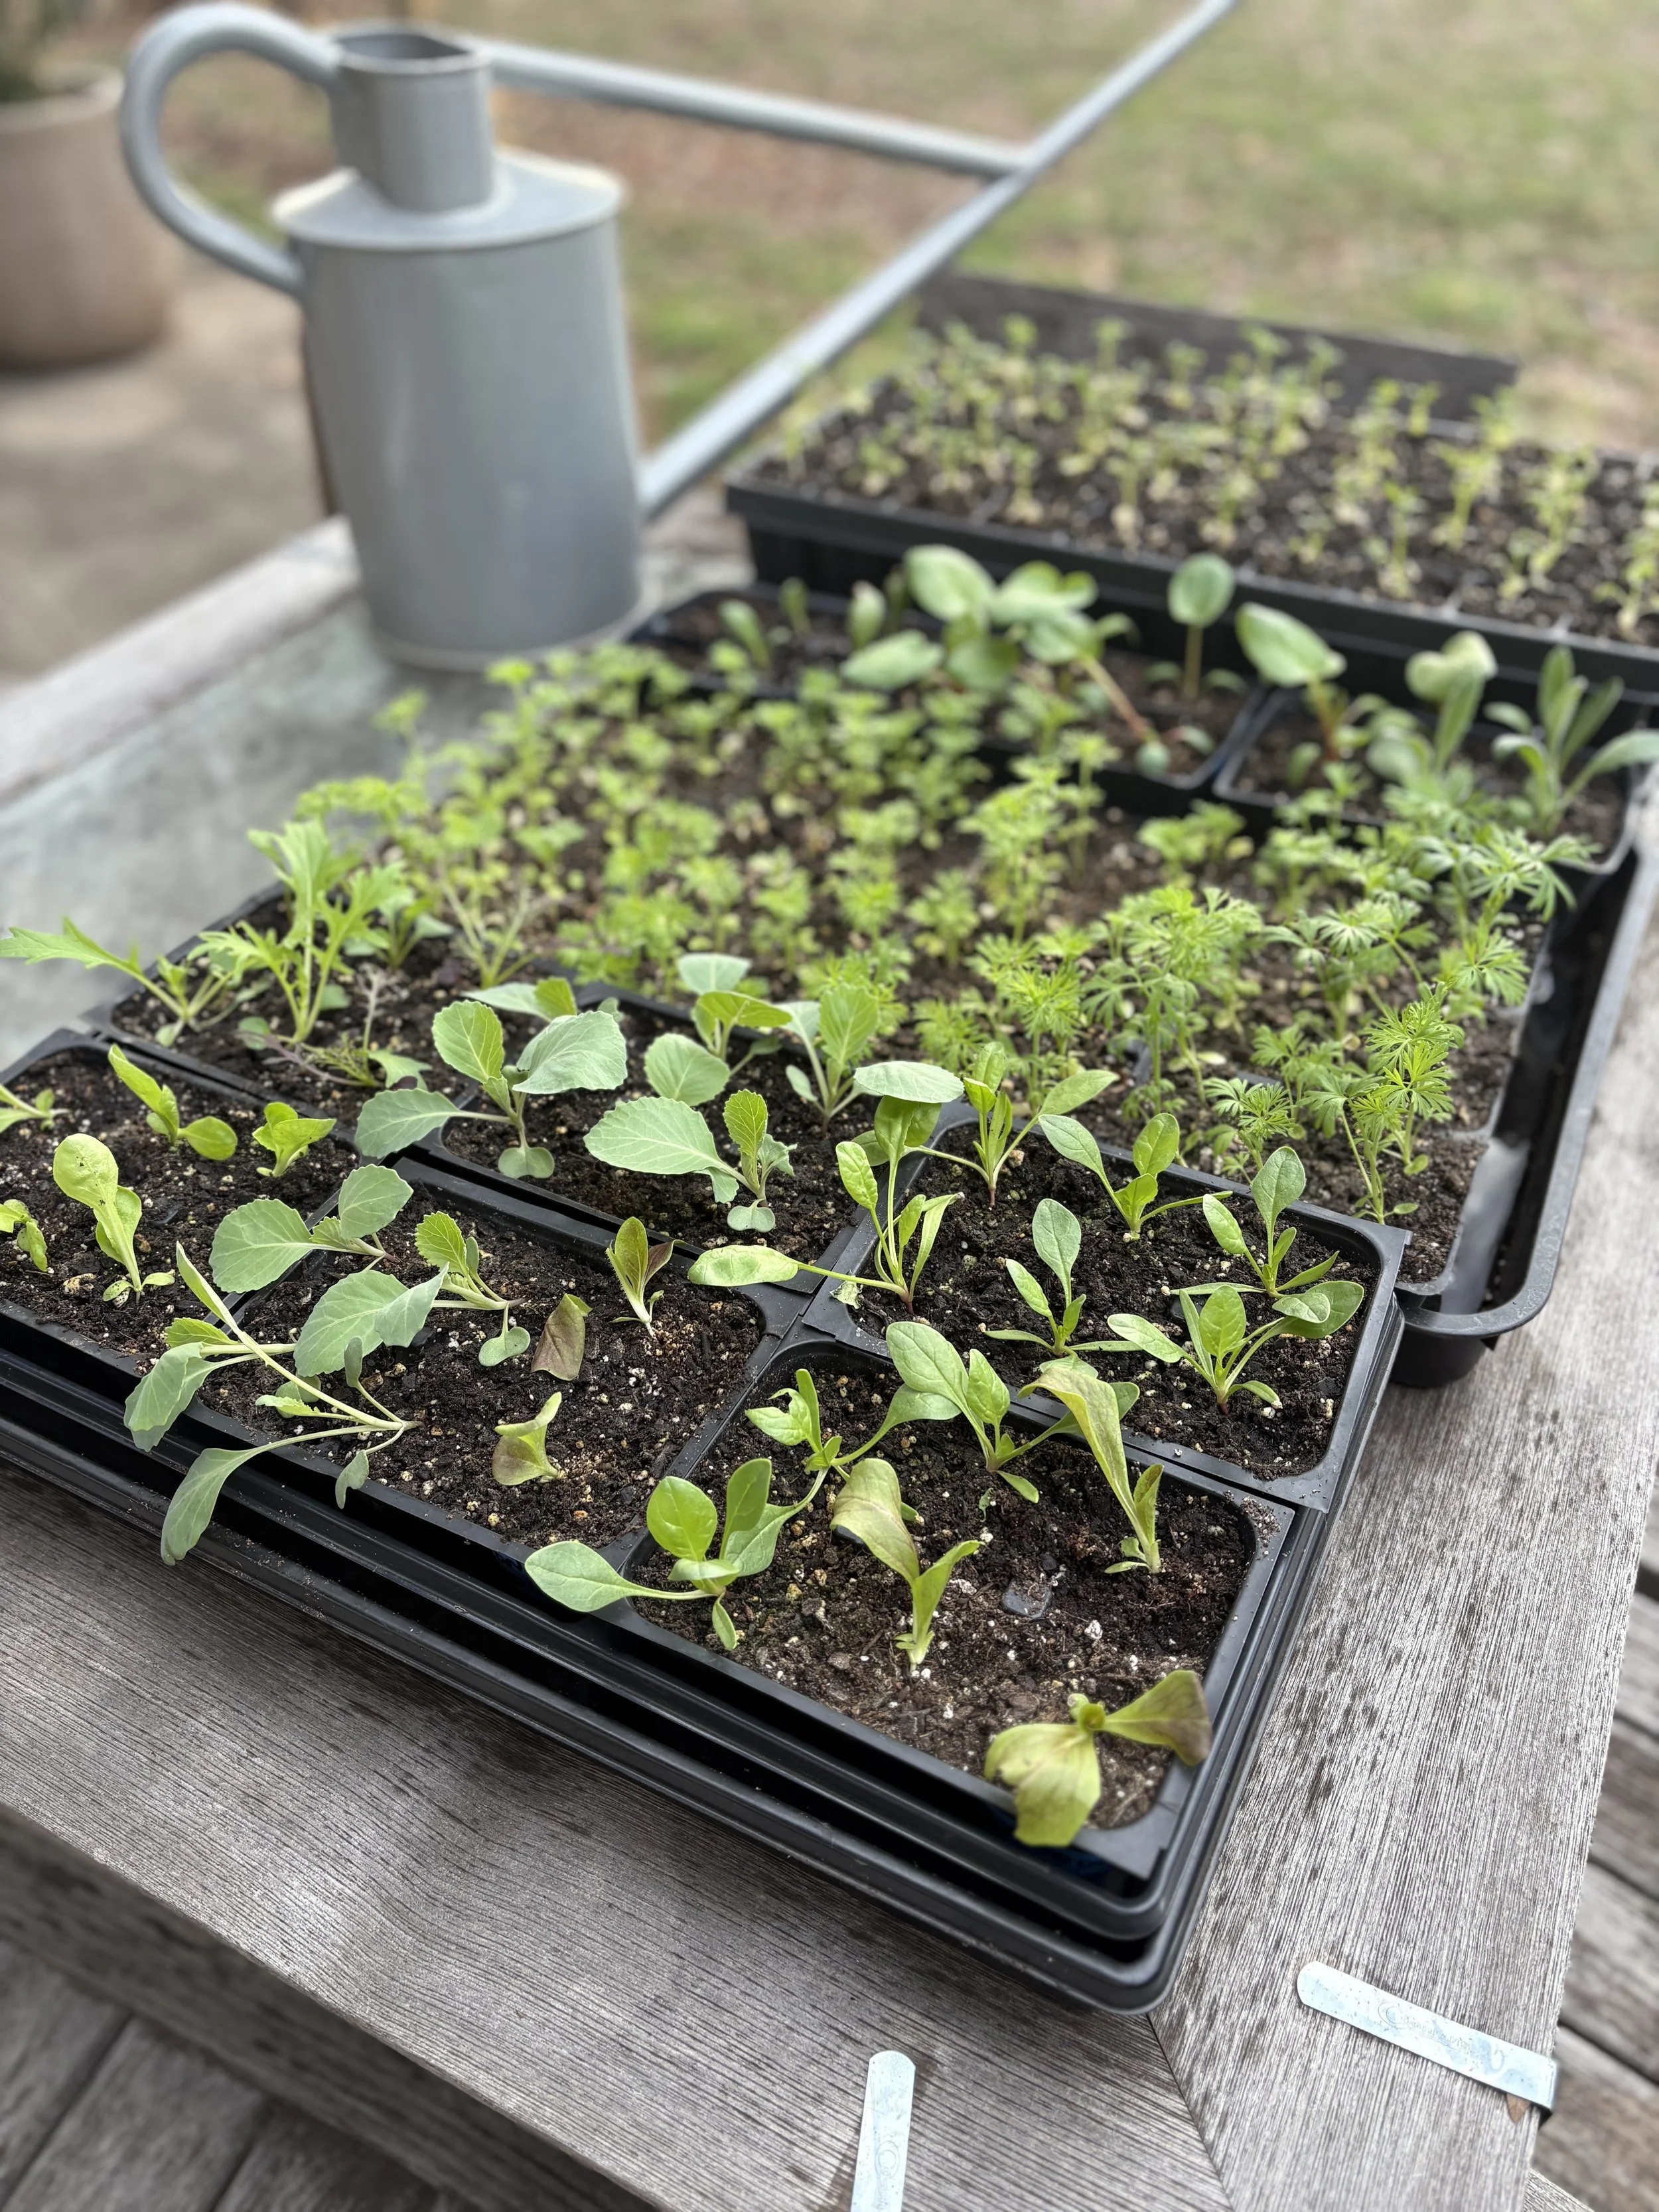
Young vegetable and flower seedlings hardening off in a variety of cell tray sizes.
The Setup That Makes Seed Starting Easy
Technically, you can start seeds on a sunny windowsill.
But if you want sturdy seedlings and enough space to grow more than a few trays, this is the setup I'd recommend.
A Wire Shelving Rack
My seed-starting shelves are nothing fancy.
A simple chrome wire shelving rack about 4 feet wide and 6 feet tall is a great place to start. It's large enough to hold dozens of trays without taking over your garage, basement, or spare room, and the adjustable shelves let you change the spacing as your seedlings grow. I've used essentially the same setup for years.
I also keep a sturdy table nearby for filling trays with soil, sowing seeds, and all the other little jobs that come with seed starting. It's also where I keep my heat mat and whatever trays don't fit on the shelves quite yet.
If you only have room for one or the other—a shelving rack or a work table—you can absolutely get started.
LED Grow Lights
Good lighting makes all the difference.
I use simple full-spectrum LED shop lights suspended above each shelf—two lights per shelf. You don't need expensive specialty fixtures. You simply need enough consistent light to prevent seedlings from becoming tall and weak.
I also adjust the spacing between my shelves depending on the size of the plants. Some shelves are positioned close to the lights for newly germinated seedlings, while others are spaced farther apart so the plants have room to grow taller. If a tray is on a taller shelf but the seedlings are still small, I'll simply place a cardboard box or another sturdy riser underneath the tray until the plants grow closer to the lights.
I keep my grow lights on for about 16 hours a day and off for about 8 hours. A simple timer makes this effortless. While every plant is a little different, I've found that this schedule works well for almost everything I grow. Some seeds—like foxgloves—need light to germinate, so I place those trays under lights as soon as they're sown. Others don't need light until they emerge, but keeping all my trays on the same schedule makes the whole system much simpler.
The Little Things You'll Be Glad You Bought
These aren't expensive, but they make life easier.
A Timer
This is one of those inexpensive purchases you'll appreciate every single day. Instead of remembering to turn the lights on and off, a timer does it automatically. The seedlings stay on a consistent schedule.
You stay sane...well, as sane as any gardener is.
A Small Fan
A small oscillating fan keeps air moving around the seedlings. It helps strengthen stems and reduces some of the fungal problems that can develop in still, humid conditions.
It doesn't need to blow hard. Air movement mimics natural breezes and encourages sturdier stems.
I wouldn't call this an absolute necessity, but if it's within your budget, I think it's well worth adding to your setup.
Painter's Tape
Hear me when I say—I have tried all the cute labels. Wooden labels. Plastic labels. Metal labels. You name it.
The only thing that never seems to get caught in the shelving, disappear, or become a nuisance is painter's tape.
I label each row on the side of the tray, then label the front of every tray with a broader category like "Snapdragons," "Mixed Veg," "Brassicas," or "Chili Peppers."
If I'm sowing two varieties in the same tray—for example, two different foxgloves—I simply add a small piece of painter's tape to divide the tray and note the second variety.
Painter's tape sticks well, removes cleanly, and costs very little.
A Sharpie
Actually...buy two.
I promise you'll lose one.
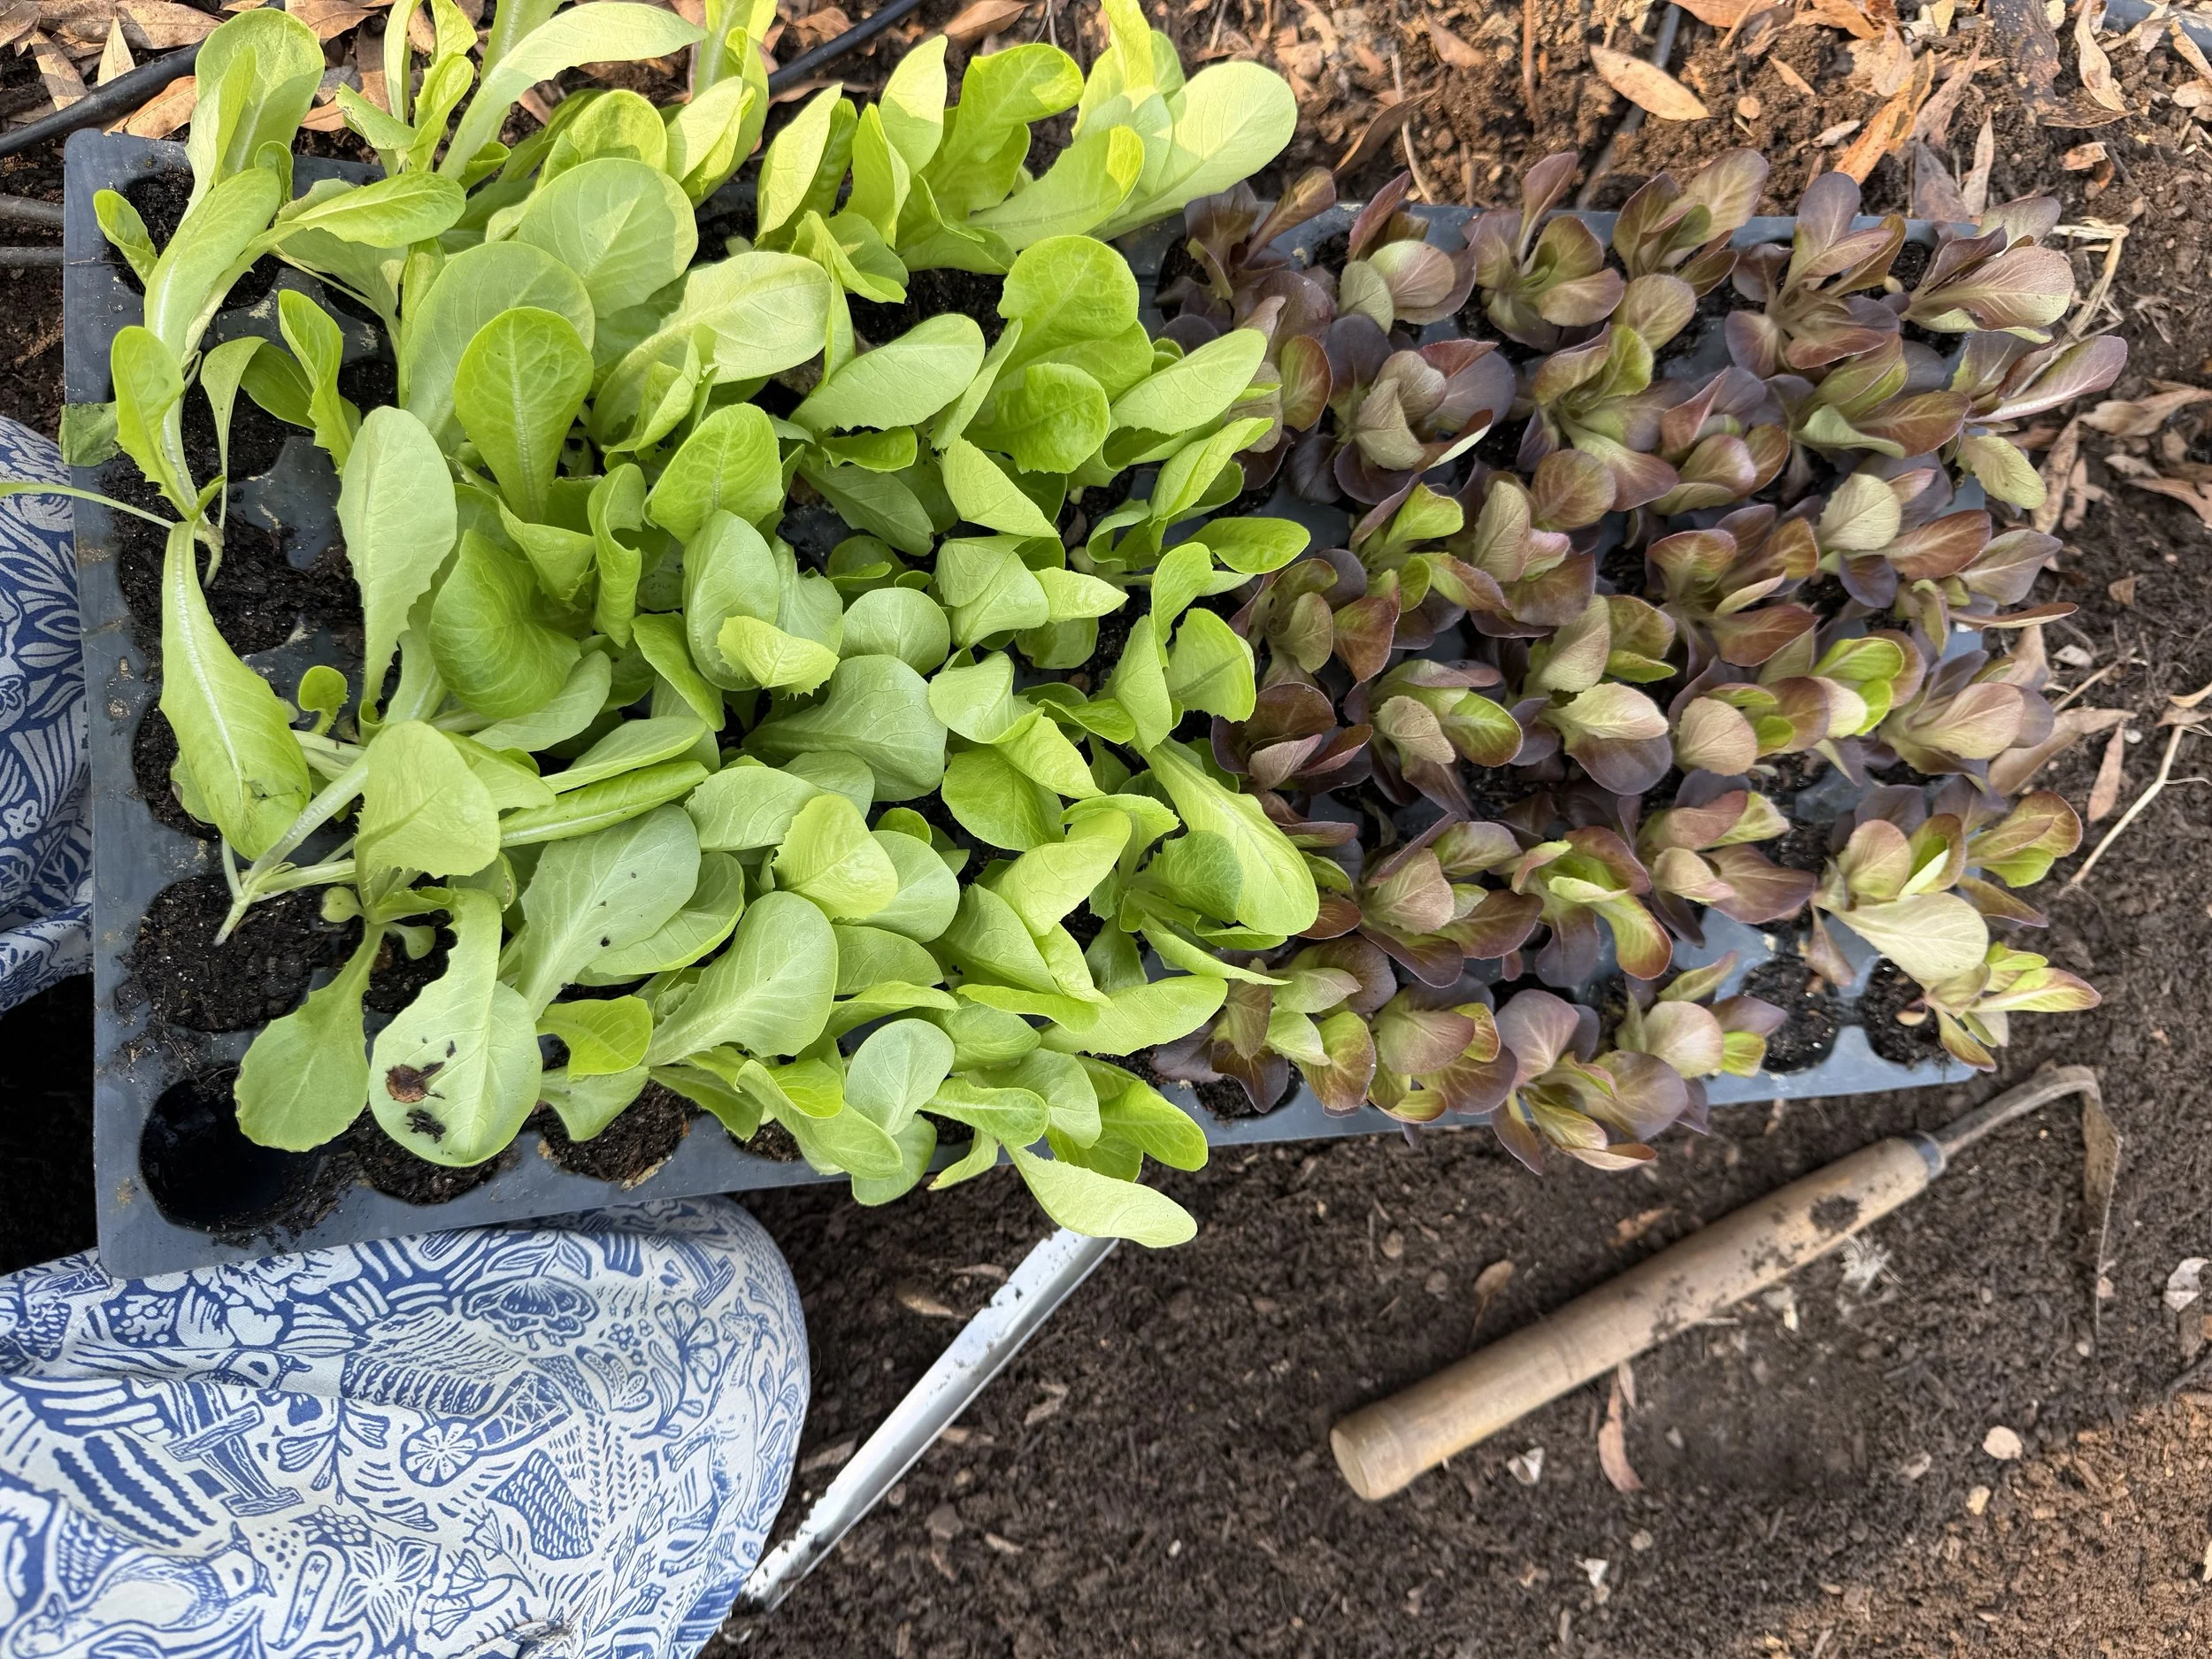
A widger makes transplanting seedlings much easier without damaging delicate roots.
Widger
If you've never seen one, a widger is a small metal transplanting tool designed for pricking out seedlings and lifting them from trays without damaging their roots. It's one of those tools that doesn't seem necessary until you've used one.
I use mine for transplanting seedlings from open flats into cell trays and for easing plants out of trays when it's time to move them into the garden. If you don't have one, a chopstick works surprisingly well here too.
But here's the deal. After spending weeks caring for a tray of seedlings—checking them every day, watering them carefully, and waiting for them to germinate—the last thing I want to do is snap a stem or tear the roots because I was wrestling a plant out of its cell. A widger lets me handle those little seedlings much more gently, and for me, that's reason enough to keep one close by. They cost less than $10, and if you ask me, they're proper useful.
Small Snips
Eventually seedlings need thinning, dead leaves need removing, and plants need pinching. A small pair of snips earns its keep quickly.
That said, I usually grab whatever is closest—including my fingers or the kitchen scissors that somehow manage to do ten other jobs around the house.
Small Dustpan and Brush & Trash Can
For my sanity, this one is critical.
After filling trays with soil, sowing seeds, and covering everything with vermiculite, I'm left with a mess. Sweeping everything into a dustpan is far easier than trying to wipe it up with paper towels or your hands.
Keep a small trash can nearby, and cleanup takes less than a minute.
Dibber & Pot Press
A dibber is a handy wooden tool for making small planting holes when you're sowing medium to large seeds. You can make just enough of an indentation or hole to accommodate the seeds easily. In a pinch, chopsticks also do the trick!
A pot press (or tamper) is useful for gently firming the soil after sowing. Good seed-to-soil contact improves germination, especially for very small seeds.
You certainly don't have to buy either one. A finger works perfectly well as a dibber, and a small wooden block makes an excellent soil tamper. I just find the dedicated tools a little faster and more comfortable when I'm sowing hundreds of trays.
Future Investments
Heating Mat
If you can buy one from the beginning, I would.
Heat-loving crops like peppers, eggplant, basil, and many flowers germinate much more reliably with bottom heat. I've also found that my tomatoes germinate faster and more consistently on a heat mat, so I start those there as well.
You don't need a huge one, but I recommend buying a waterproof, good-quality mat that's large enough to hold at least two standard seed trays.
Continuous Mist Spray Bottle
Definitely not essential, but one of those things you'll wonder how you lived without.
They're wonderful for misting tiny seeds without disturbing them, maintaining humidity during propagation, and caring for houseplants long after seed-starting season has ended.
One Final Thought
People often ask me what the hardest seeds are to grow.
The truth is, some plants are fussier than others. A few benefit from heat mats. Others germinate almost as soon as they touch moist soil.
But none of that matters until you plant the first seed.
Everything I know about seed starting came from trying, making mistakes, adjusting, and trying again.
The supplies on this list didn't make me a better gardener. They simply made it easier to keep showing up and get the job done well.
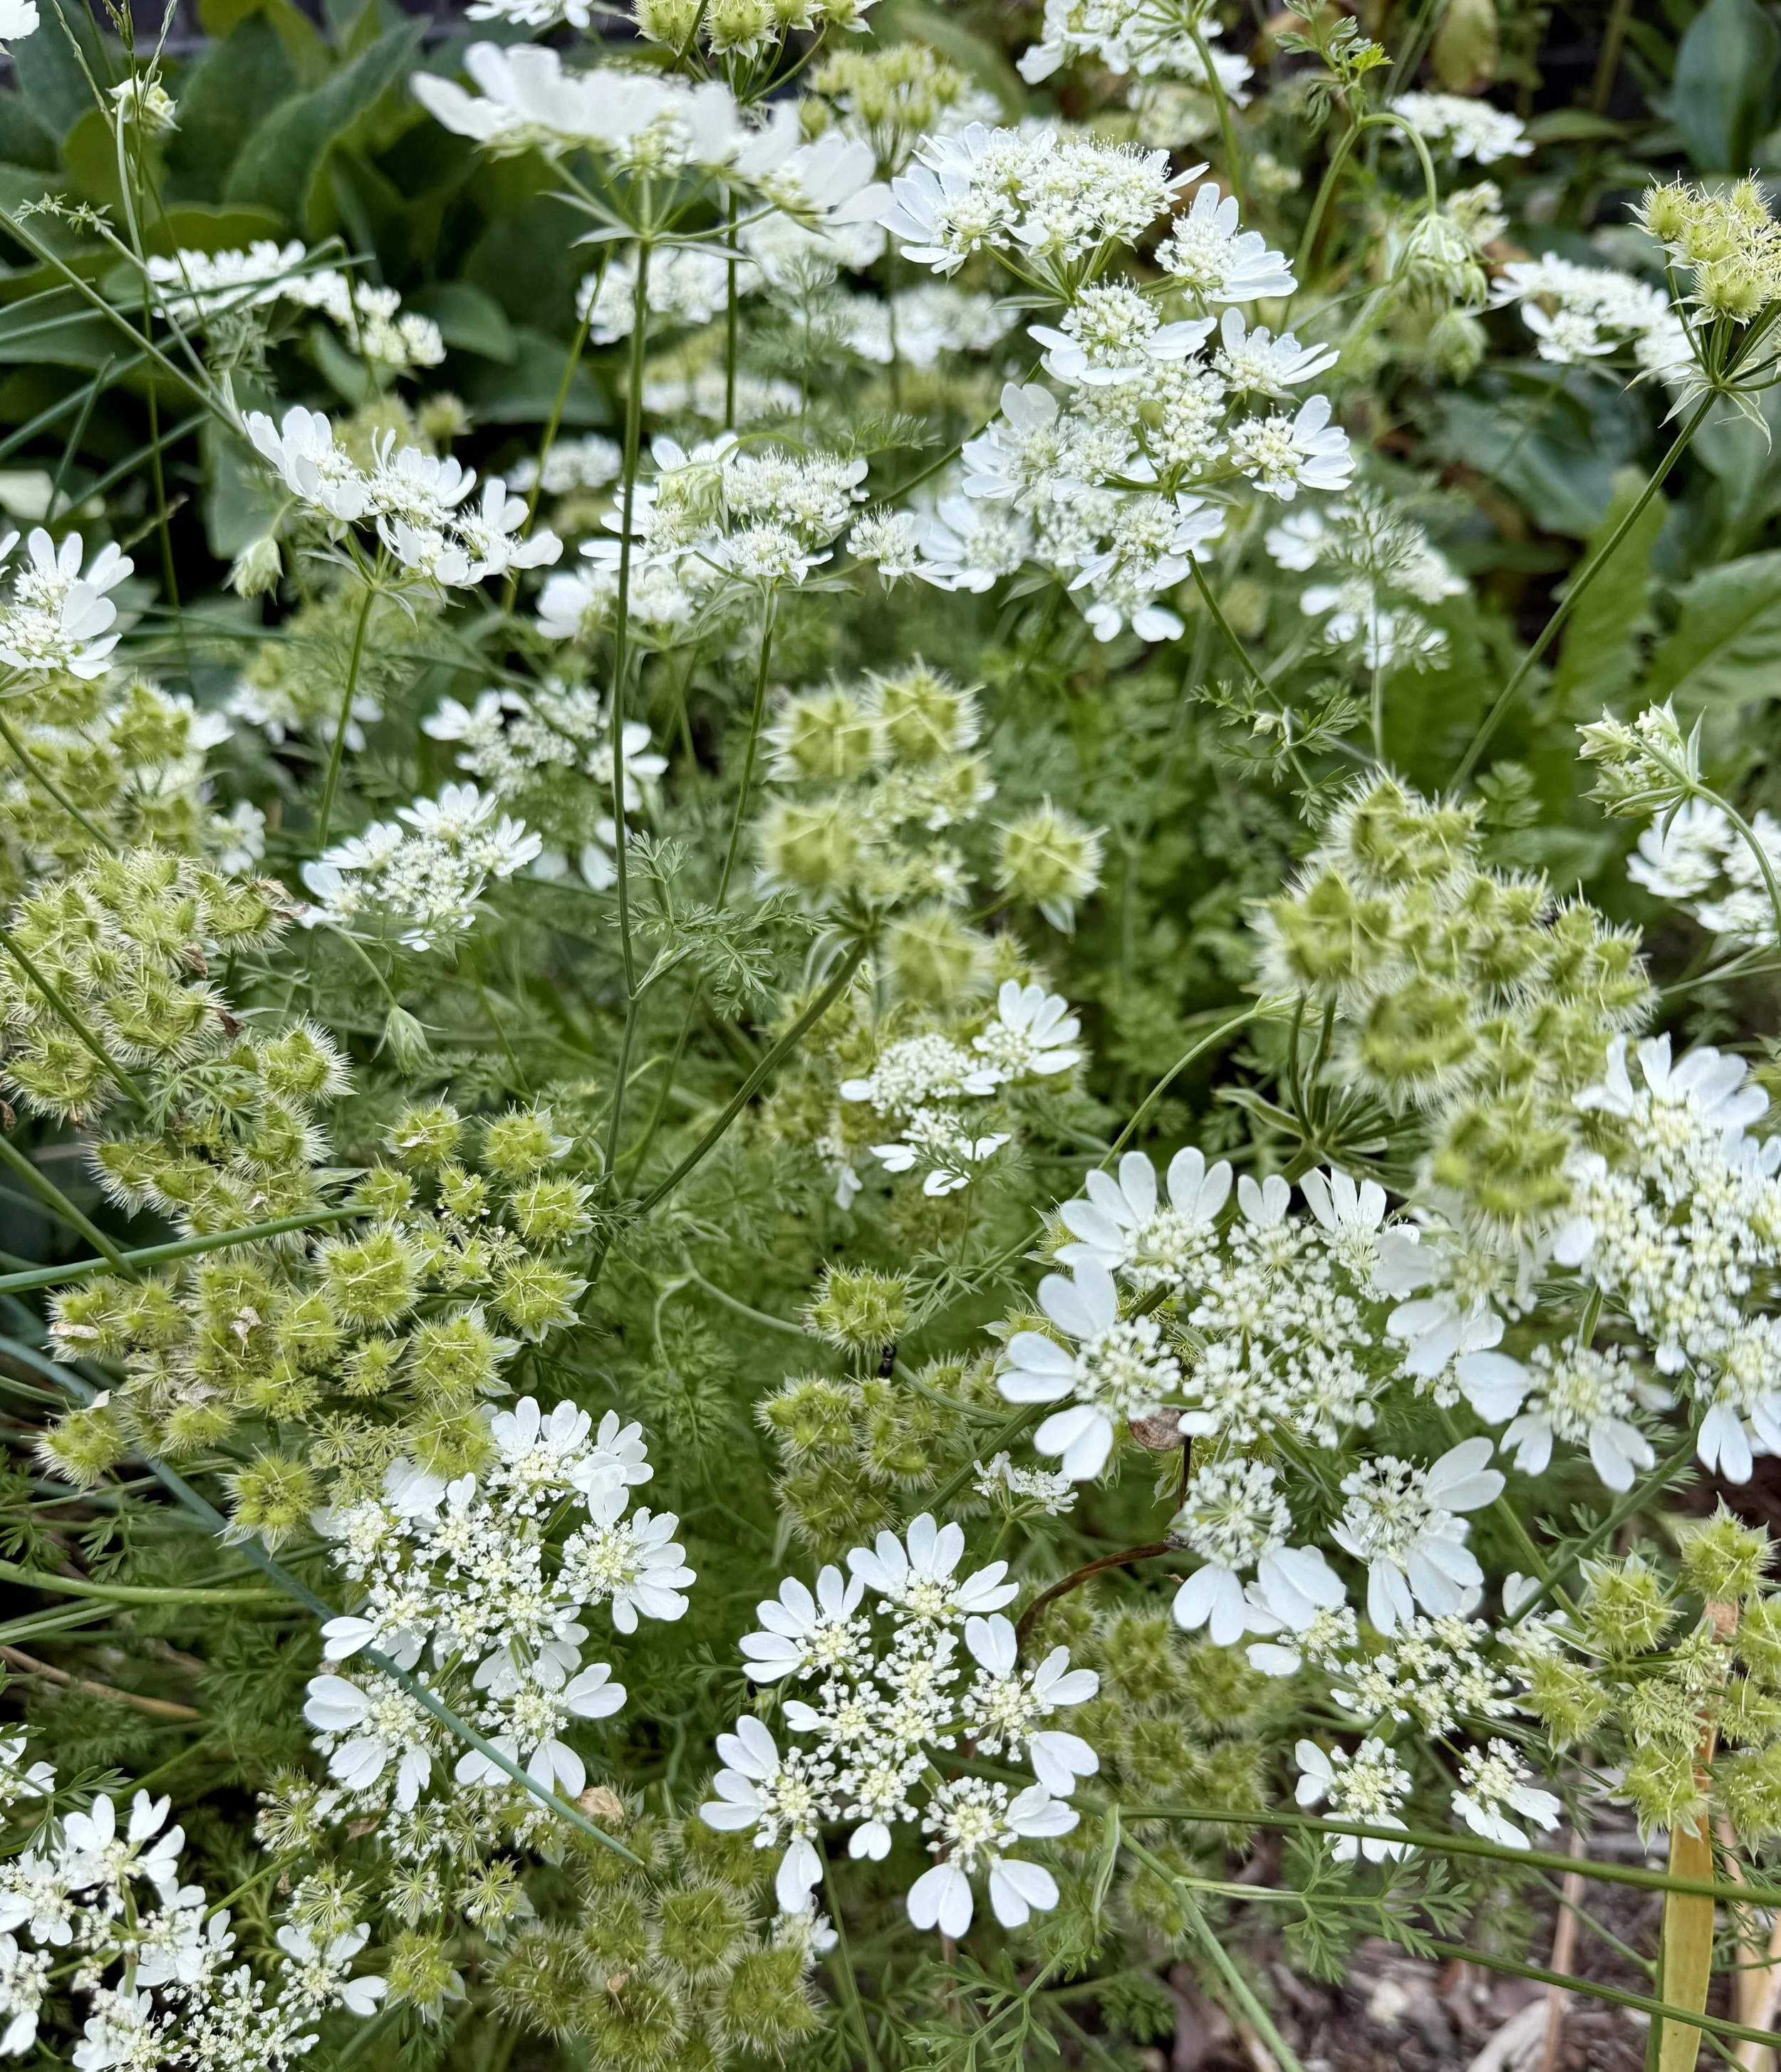
These Orlaya all began life in a seed tray on my potting bench at Hilltop.